Clarity Portal – Multi-Factor Authentication (MFA) Setup Guide

To keep your data secure, we use Multi-Factor Authentication (MFA). MFA adds an extra layer of protection by requiring both your password and a one-time code from the Microsoft Authenticator app to log in to the Clarity Portal. Don’t worry — it only takes a few minutes to set up, and we’ll walk you through it step by step.

Step 1 Log into the Clarity Portal

Log into the Clarity Portal

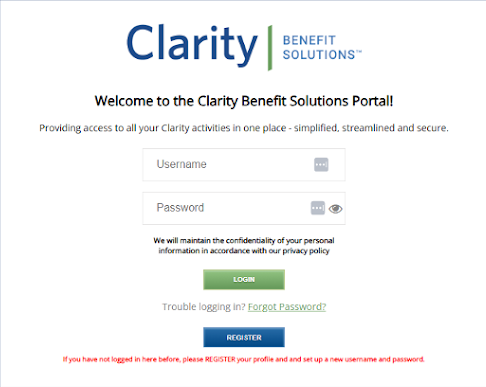
Go to the Clarity Portal login page, enter your Clarity username and password, and select Login

Clarity Portal login screen
Step 2 Choose Microsoft Authenticator

Select the Microsoft Authenticator method

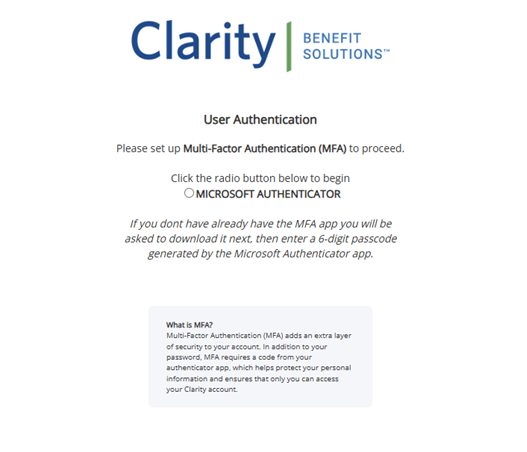
On the next screen, choose Microsoft Authenticator as your verification method and click Submit to begin setup.

Authenticator selection screen
Step 3 Download the app

Download the Microsoft Authenticator app

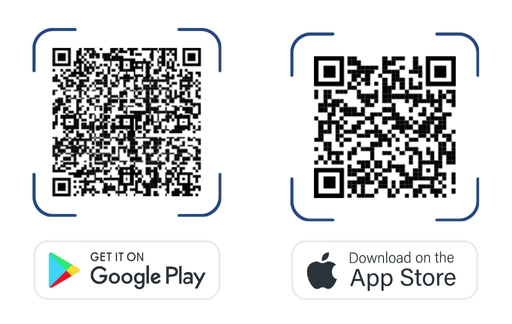
If you don’t already have the app, install it now. If you already use it, you can skip this step.

Microsoft Authenticator app in app store
Step 4 Connect your account

Connect your Clarity account

  • Open the Microsoft Authenticator app on your mobile device.
  • Tap the “+” icon to add a new account.
  • Select “Work or school account.”
  • When prompted, scan the QR code shown on your Clarity Portal screen.
  • If you cannot scan the QR code: manually enter the setup key shown on your screen instead. (Spaces do not matter.)
QR code setup screen
Step 5 Verify your setup

Verify your setup

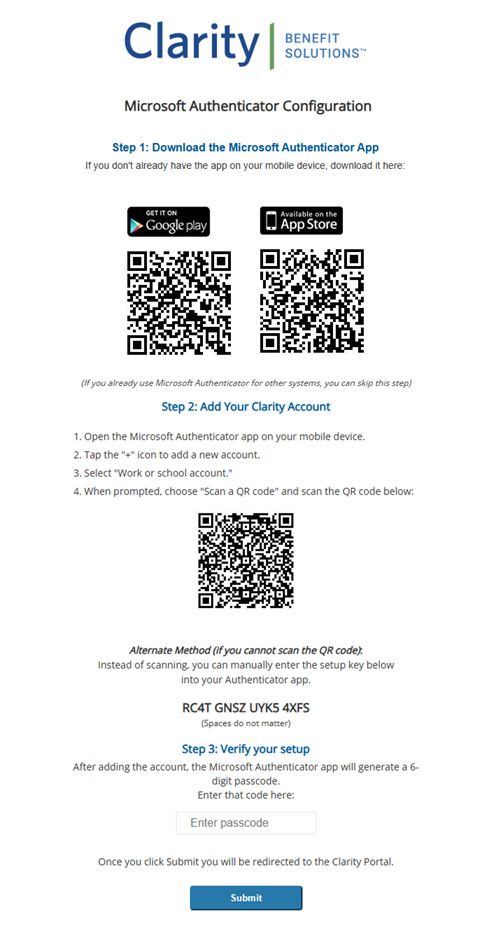
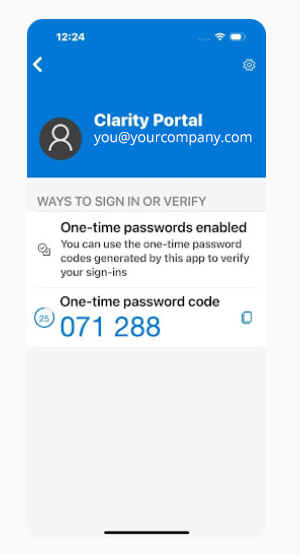
After adding your Clarity account, the Authenticator app will generate a 6-digit code. Enter this code into the Clarity Portal setup screen. That’s it — you’re now protected with MFA.

Tip: The code refreshes every ~30 seconds. If the countdown is almost finished, wait for a fresh code before entering.
Verification code entry screen

MFA Setup Checklist